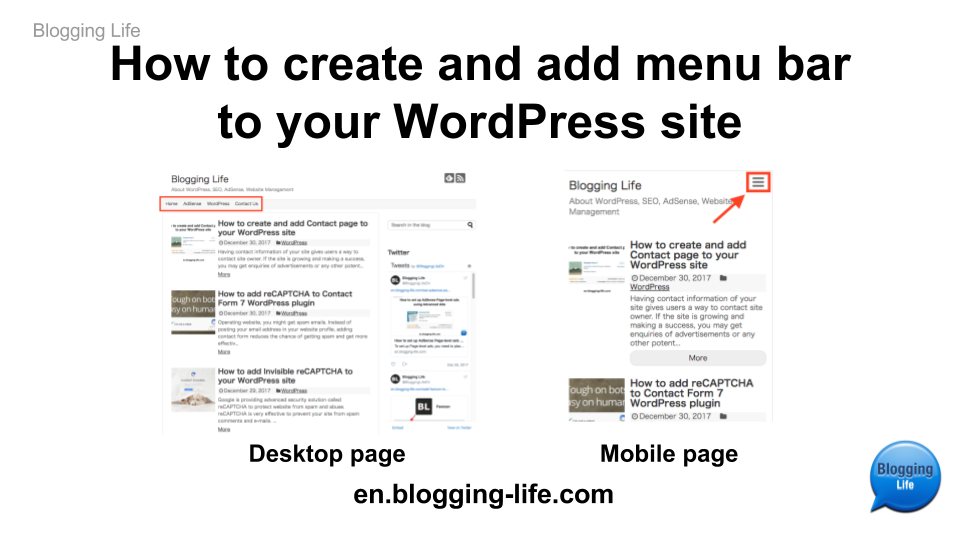
Providing a good user experience is a critical success factor for your site. An ease of use menu bar will make users more engaged and consumed contents of your site.
Menu bar is the foundation of site navigation
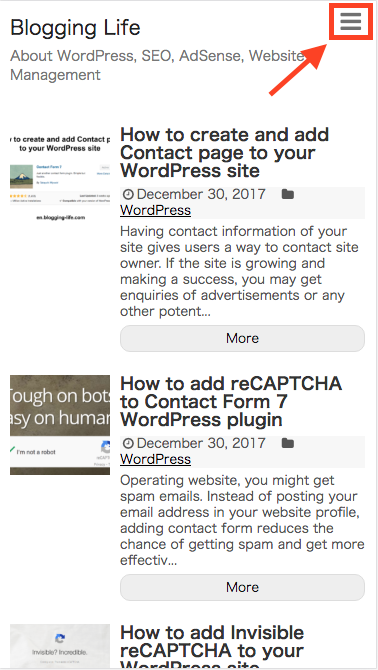
Menu is especially important for Mobile
Due to the limitation of screen size, menu is especially important for Mobile. It is good idea to pay extra attention to the usability and try to create better site navigation.
Here is an example of mobile menu. Mobile menu button is usually located in the top side of screen. Make sure the location of menu button is easy to find for users.
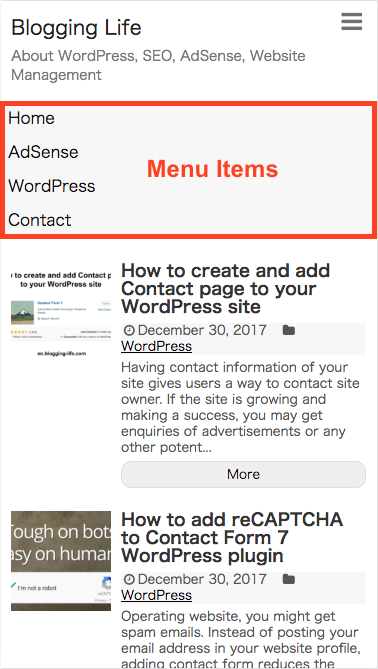
When you click (tap) the menu button, menu items will be displayed. It is important to make sure each menu item is easy to read and understand for users.
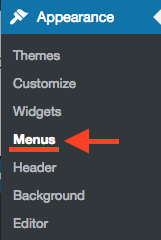
How to set up menu bar for WordPress site
From WordPress Dashboard, click “Appearance” and then select “Menus”.
Menus setting page is displayed. 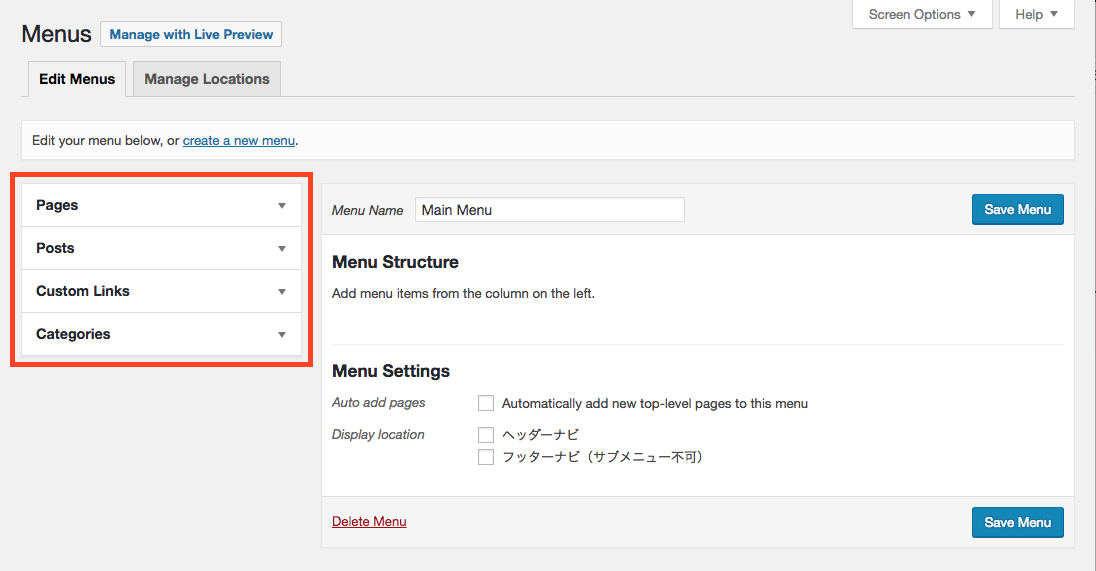
Menu items consist of “Pages”, “Posts”, “Custom Links”, and “Categories”. You can select an item, and add to menu by pressing button.
In this post, the following items will be added to the menu.
- Pages: “Home” and “Contact Us”
- Categories: “AdSense” and “WordPress”
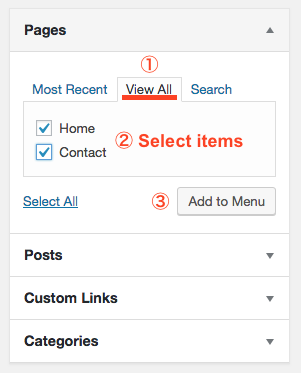
Add “Pages” to menu
- Click “View All” tab.
- Select items to add to the menu
- Press “Add to Menu”
Home and Contact pages are added to the menu.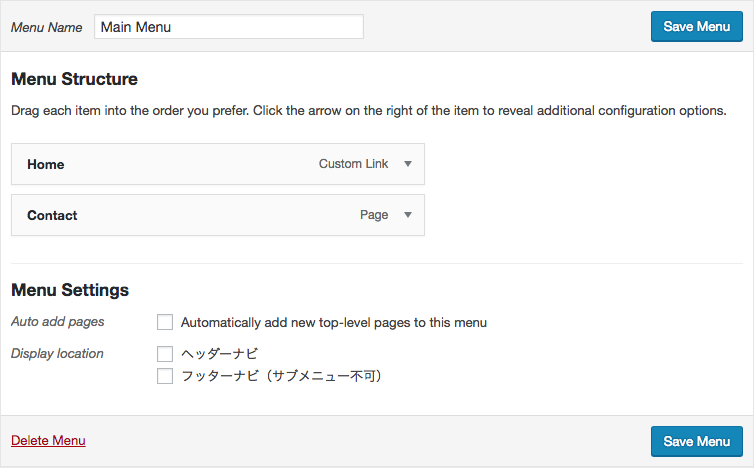
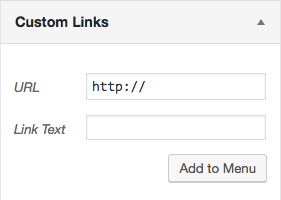
Add Custom Links to menu
Click “Custom Links”, and enter URL and Link Text. Press “Add to Menu” button.
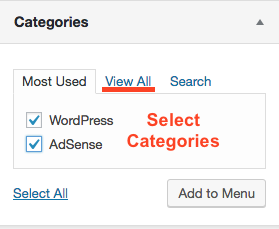
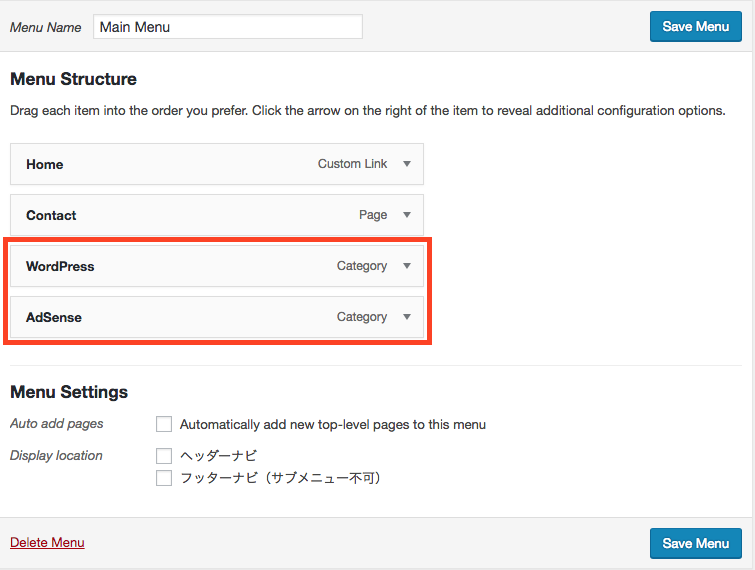
Add Categories to menu
- Click “Categories”.
- Select category items to add to menu
- Press “Add to Menu” button
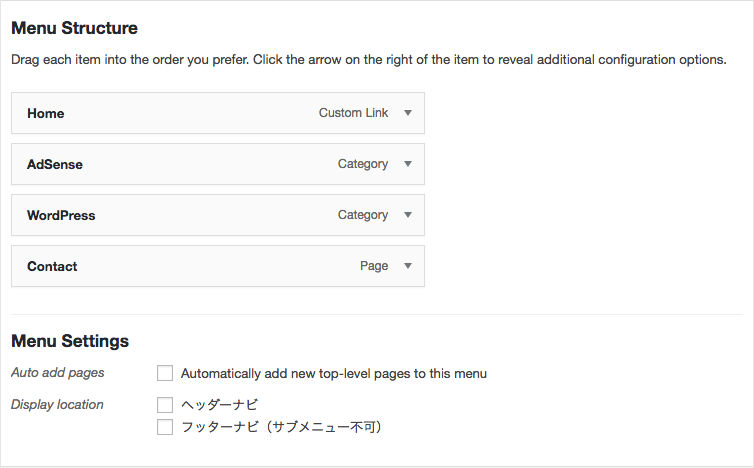
Arrange the orders of Menu Items
In this example, we are going to change the menu order as below.
- Home
- AdSense
- WordPress
- Contact
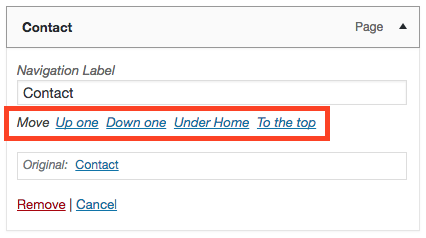
You can arrange menu items orders by drag and drop. Or, select the item, and click move navigation item.
Now, we changed the order of menu items.
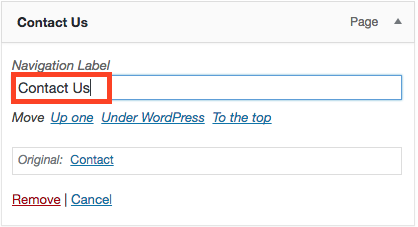
Change the menu item name (Navigation Label)
You can change menu item name if you want. The following is an example. We changed navigation label from “Contact” to “Contact Us”.
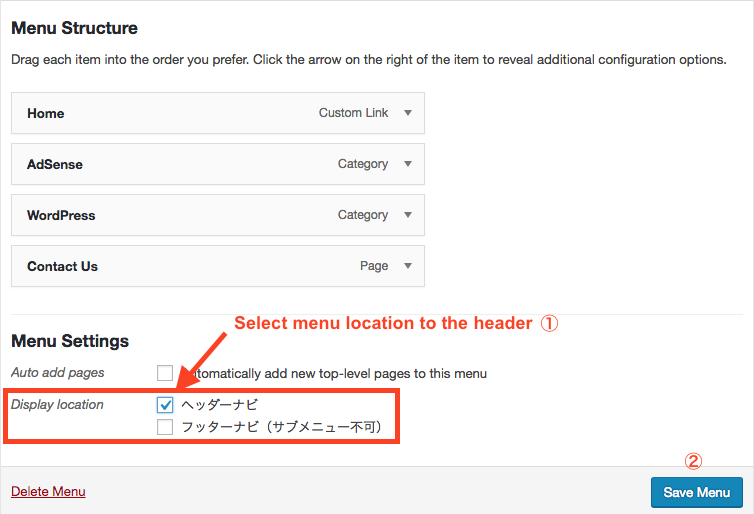
Set Menu Display Location
This is the final step. In WordPress, you can select multiples places for menu. The selections differ by Theme. Some theme provides many location options such as header and footer for each mobile, desktop, and AMP.
In this example, there are two selections. One is header, and the other is footer. You can choose both if you like.
We select header, and then press “Save Menu”
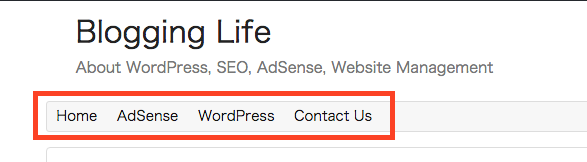
Menu bar is now added!
Comments