On October 8, 2019, Google AdSense official blog (Inside AdSense) announced the new features and improvements of Auto Ads.
AdSense notification for Auto Ads new features and changes
The following banner is or will be displayed on the home screen of the account where the new Auto ads is available.
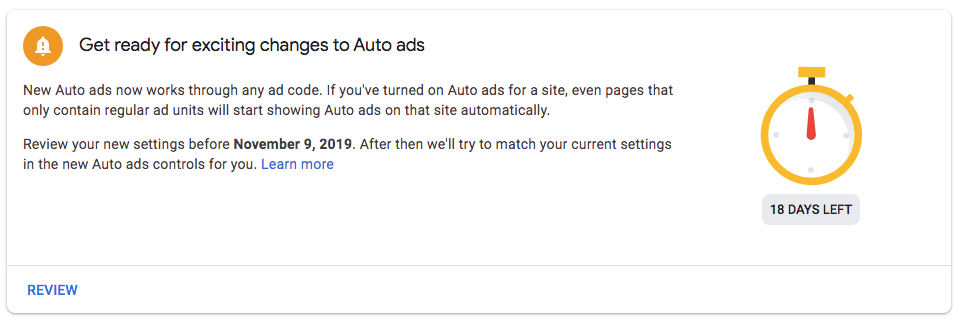
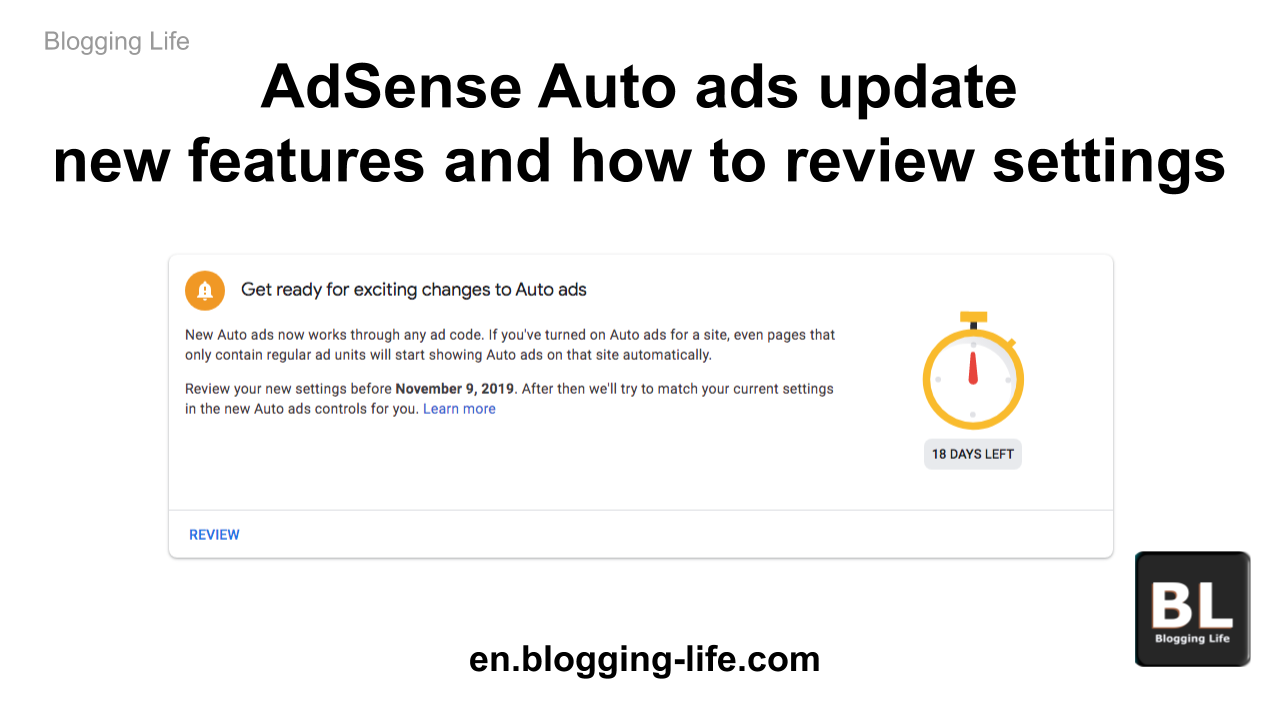
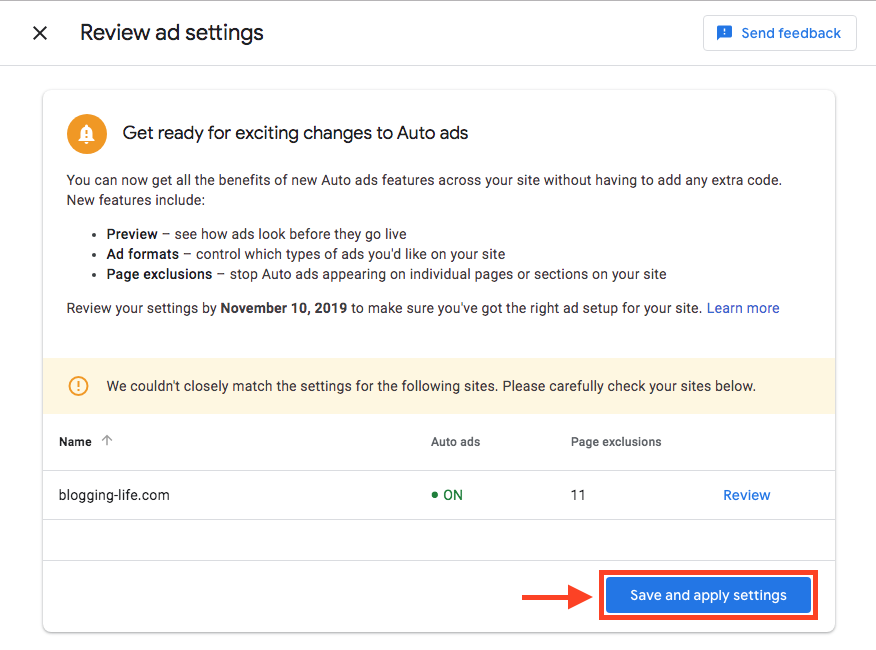
Get ready for exciting changes to Auto ads
New Auto ads now works through any ad code. If you’ve turned on Auto ads for a site, even pages that only contain regular ad units will start showing Auto ads on that site automatically.Review your new settings before November 9, 2019. After then we’ll try to match your current settings in the new Auto ads controls for you. Learn more
Why is this notice displayed on AdSense home?
New auto ads will be enabled by default on pages where the normal AdSense ad code is installed, even if the page doesn’t have code for auto ads . As a result, even if your account or site hasn’t used AdSense Auto ads before, your sites will start displaying auto ads after the date listed in the banner, unless you change your settings. The reason why the notice banner that displays automatic ads is prominently displayed is to encourage users to review the Auto ad settings.
Some publishers do not want to use Auto ads, so the new Auto ads notification banner is displayed on the AdSense homepage to clearly inform users of the changes and their confirmation.
In most cases, it’s unlikely to be a big problem for publishers even if publishers did not review the settings, but it is an opportunity to understand the new features of Auto ads and how it works. The Auto ads new features are easier to use and understand. You can change the settings any time before or after the specified date.
What you need to know when using the new features
AdSense Auto ads was officially launched in February 2018. Almost two years have passed since the introduction of the product, and this time, significant improvements have been made. With this change, it is now possible to make more detailed settings compared to previous Auto ads. Changes and improvements are easy to understand for publishers, such as preview with settings and performance report. AdSense Auto ads will continue to evolve.
Auto ads are evolving, but not perfect. In addition, right amount of the number of advertisements to be displayed, the ad placement, and the selection of the advertisement format may differ depending on the publisher’s thoughts, preferences, and sites’ chairacters and audience demographic. Therefore, even if it is automatically displaying ads, the setting can be made at the discretion of the publisher. In particular, with this change, it is important to note, understand, and take into account that the number of setting functions has increased.
Recently, Auto ads are increasingly showing large-sized ads at the top of the pages on your site. If you do not want large ads to be displayed, you can set the automatic ads not to appear at the top of the page (above the fold).
With this new feature, you can also set a limit on the number of automatic ads that appear on the page. With this function, you can set to increase or decrease the number of ads displayed by automatic ads.
Ads may not be displayed and may have blank spaces
If no ad is available to display, the ad space is collapsed by default, and if that is not possible, a blank space is displayed. Sometimes, AdSense ads do not be delivered and ad space left blank. This could happen for both automatic ads and manually installed ad units.
The fact that the blank space is not folded is now more common in Auto ads than in manually placed ads. The countermeasures that can be taken on the publisher side are set so that Auto ads is not displayed at the top of the page if it is frequently blank. Overall, if you have a relatively large amount of white space, you may want to reduce the number of Auto ads displayed, or in some cases disable Auto ads.
Aside from Auto ad placement/position, as a countermeasure to reduce the blank space, increase the number of visitors. For example, you can make the page elements lighter, or speed them up using a high-performance server, so that they can be easily folded if they are not served as much as possible.
Review Auto ad settings
There is a “Review” anchor link bottom of the new feature notification banner at the top of the AdSense home. When you click or tap “Review”, the following “Review ad settings” page will be displayed.
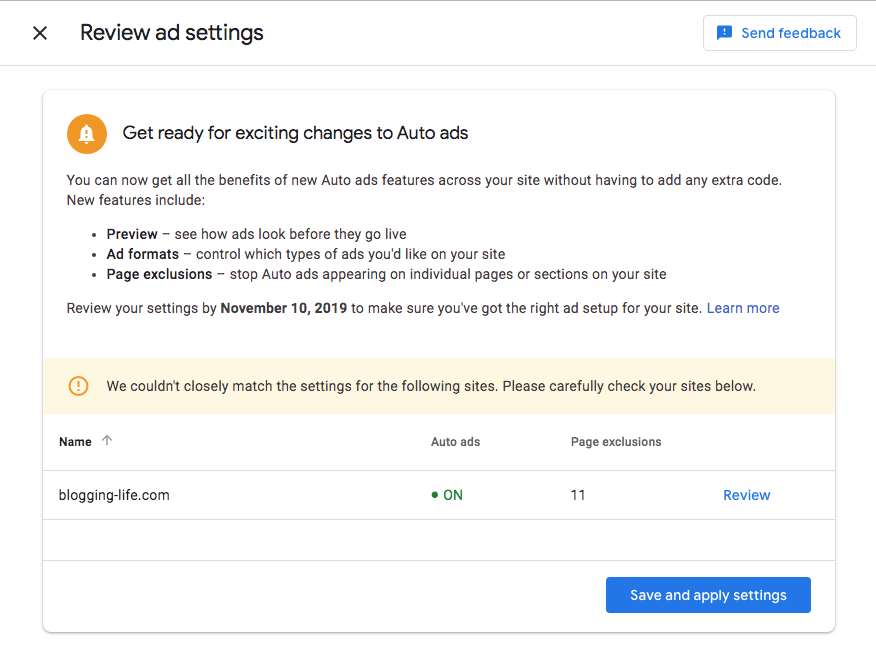
The top domains of the sites registered in the site list are displayed in the list or AdSense system picked up specific sites that publishers need to review. The upcoming new Auto ads are turned on by the default. Click “Review” linked anchor text on the right side of each site to confirm the settings of Auto Ads.
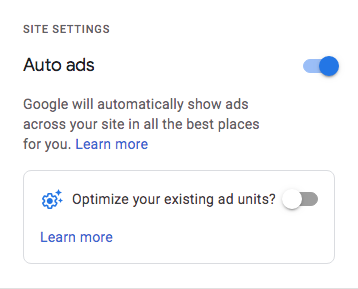
Step 1: Enable or disable Auto Ads on your site
For sites where you don’t want to Auto Ads, slide the switch to the left to turn it off.
Auto ads are enabled (on)
Auto ads are disabled (off)
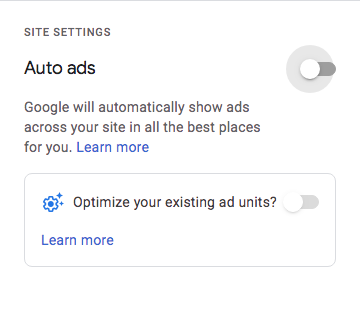
About existing ad unit optimization switches
“Optimize your existing ad units?” message, along with the switch on the right.
This feature, optimize existing ad units is not currently available. Therefore, the default is not activated. Turning this switch on will allow Google to optimize existing, manually installed ad units in the future.
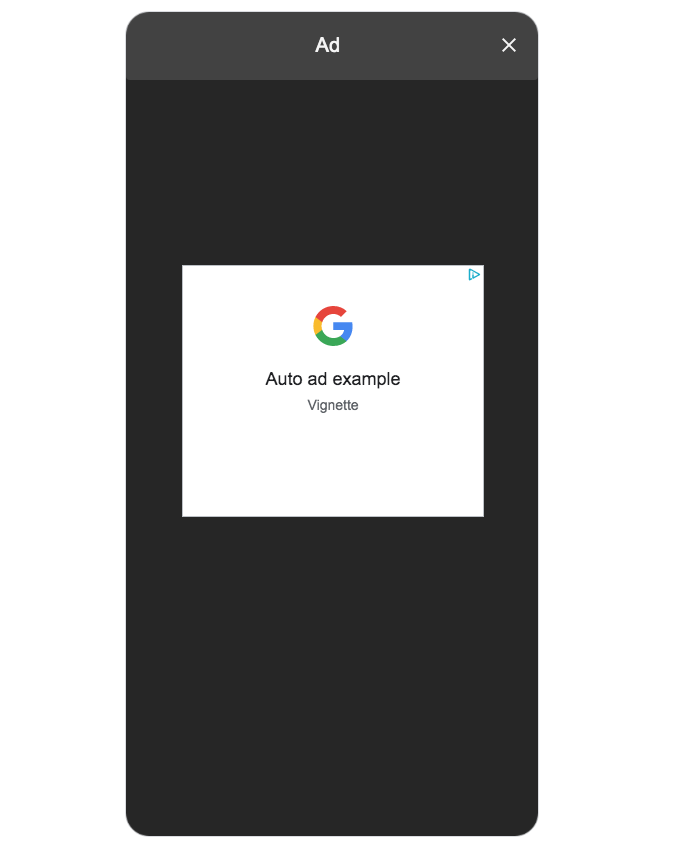
Step 2: Check the display in the preview
Check the preview to see how the advertisement will be displayed on the site.
Ads placed manually will be listed as “existing AdSense ads”. Auto ads are displayed as “Auto ad example”, and the type of ad format is also displayed in the ad frame. The preview can be switched using the mobile (smartphone) and PC icons in the upper right corner of the page. A preview of the mobile full screen ad is also displayed while the page transitions in the preview. Here is the example of vignette, mobile full screen ad in preview.
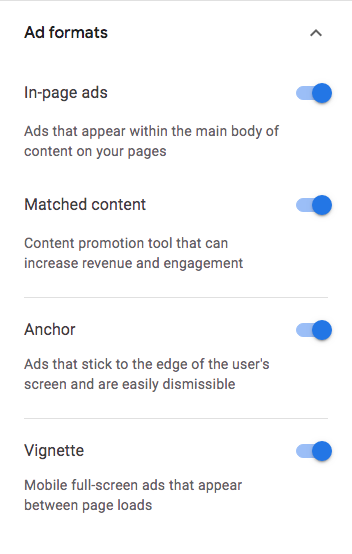
Step 3: Ad formats settings
Click the “Ad format” item displayed on the right side of the preview to open the accordion and set the display settings for each format. By default, all ad formats are turned on. Use the preview to turn off any ad formats you don’t want to see by sliding the switch to the left.
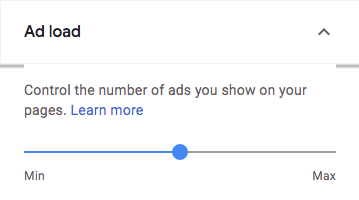
Step 4: Setting of ad load (setting for the number of auto ads)
When “Ad load” displayed on the right side of the preview is opened, a slider switch is displayed. You can use the slider to set the number of Auto ads that appear on the page. Slide to the left to minimize the number of Auto ads that display, and slide to the right to display more ads.
Example with minimal ad loading
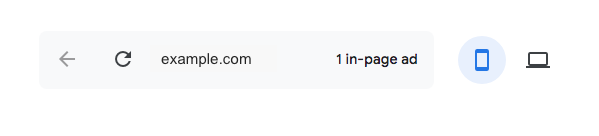
In this example, there is only one in-page ad.
Example with maximum ad load
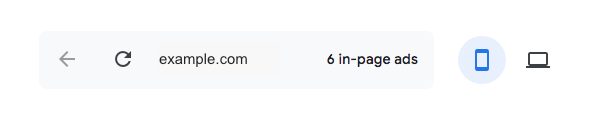
In this example, there is 6 in-page ad.
Remarks: The number of Ads in the page is only for “in-page ads”. The mobile full screen (Vignette), Anchor, and Matched Content are managed by each ad format setting.
Step 5: Setting page exclusion
This is a function to specify pages to be excluded from the target to display Auto ads. Privacy policy, Contact form, and About pages are generally not suitable for displaying advertisements.
With this function, pages that fall under or may fall under the policy of AdSense policy or restrictions may also be excluded from the display of automatic advertisements.
Following “Page Exclusion” displayed at the bottom right, the number of pages that are excluded is displayed. If you have already set up and used a URL group not to show Auto ads on specific pages, the number of those pages will be displayed. Click “Manage” to display “Add Page Exclusion”.
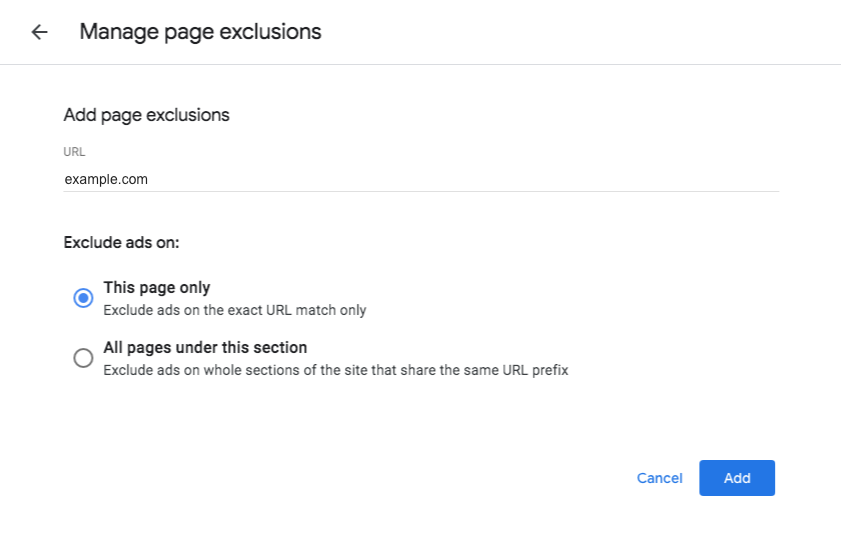
In the URL input field, enter the URL of the page where you want to disable Auto ads. (Example: www.example.com/privacy-policy)
To exclude only that page, select “Only this page”. If you select “All pages in this section”, all pages under that section URL (directory/folder) will be excluded.
Example: If you select “all pages in this section” in example.com/section, example.com/section/post-1, example.com/section/post- 2 are also excluded.
Press the “Add” button to save the settings.
The estimated time until the setting is reflected is up to 1 hour according to the AdSense help page. However, it may take longer time to reflect the settings.
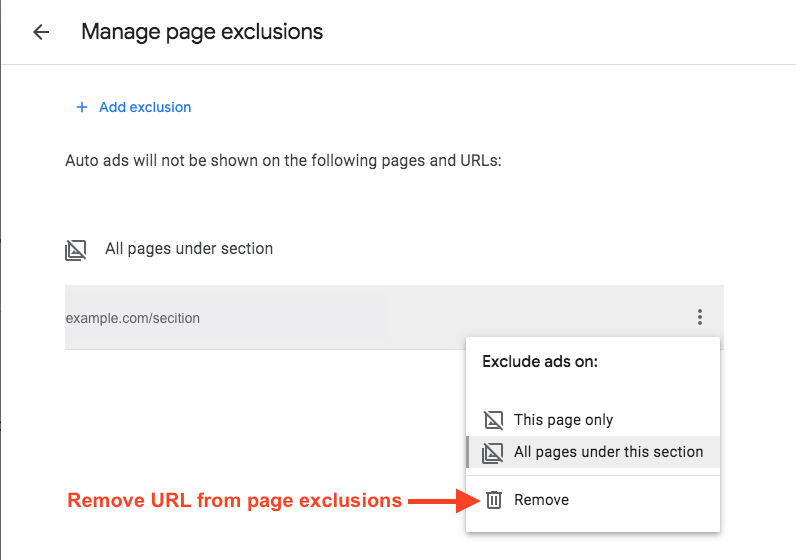
How to cancel the page exclusion settings
If you want to switch the page only or all of the sections or delete the settings for the URL that has been set to page exclusion, display “Manage Page Exclusions” and the corresponding URL Click the three vertical dot icons () displayed on the right side of, and select the corresponding item.
Confirmation of settings
After confirming the settings of all sites, return to the “Reviewing ad settings” page and click the “Save and apply settings” button to complete the confirmation.
Comments